
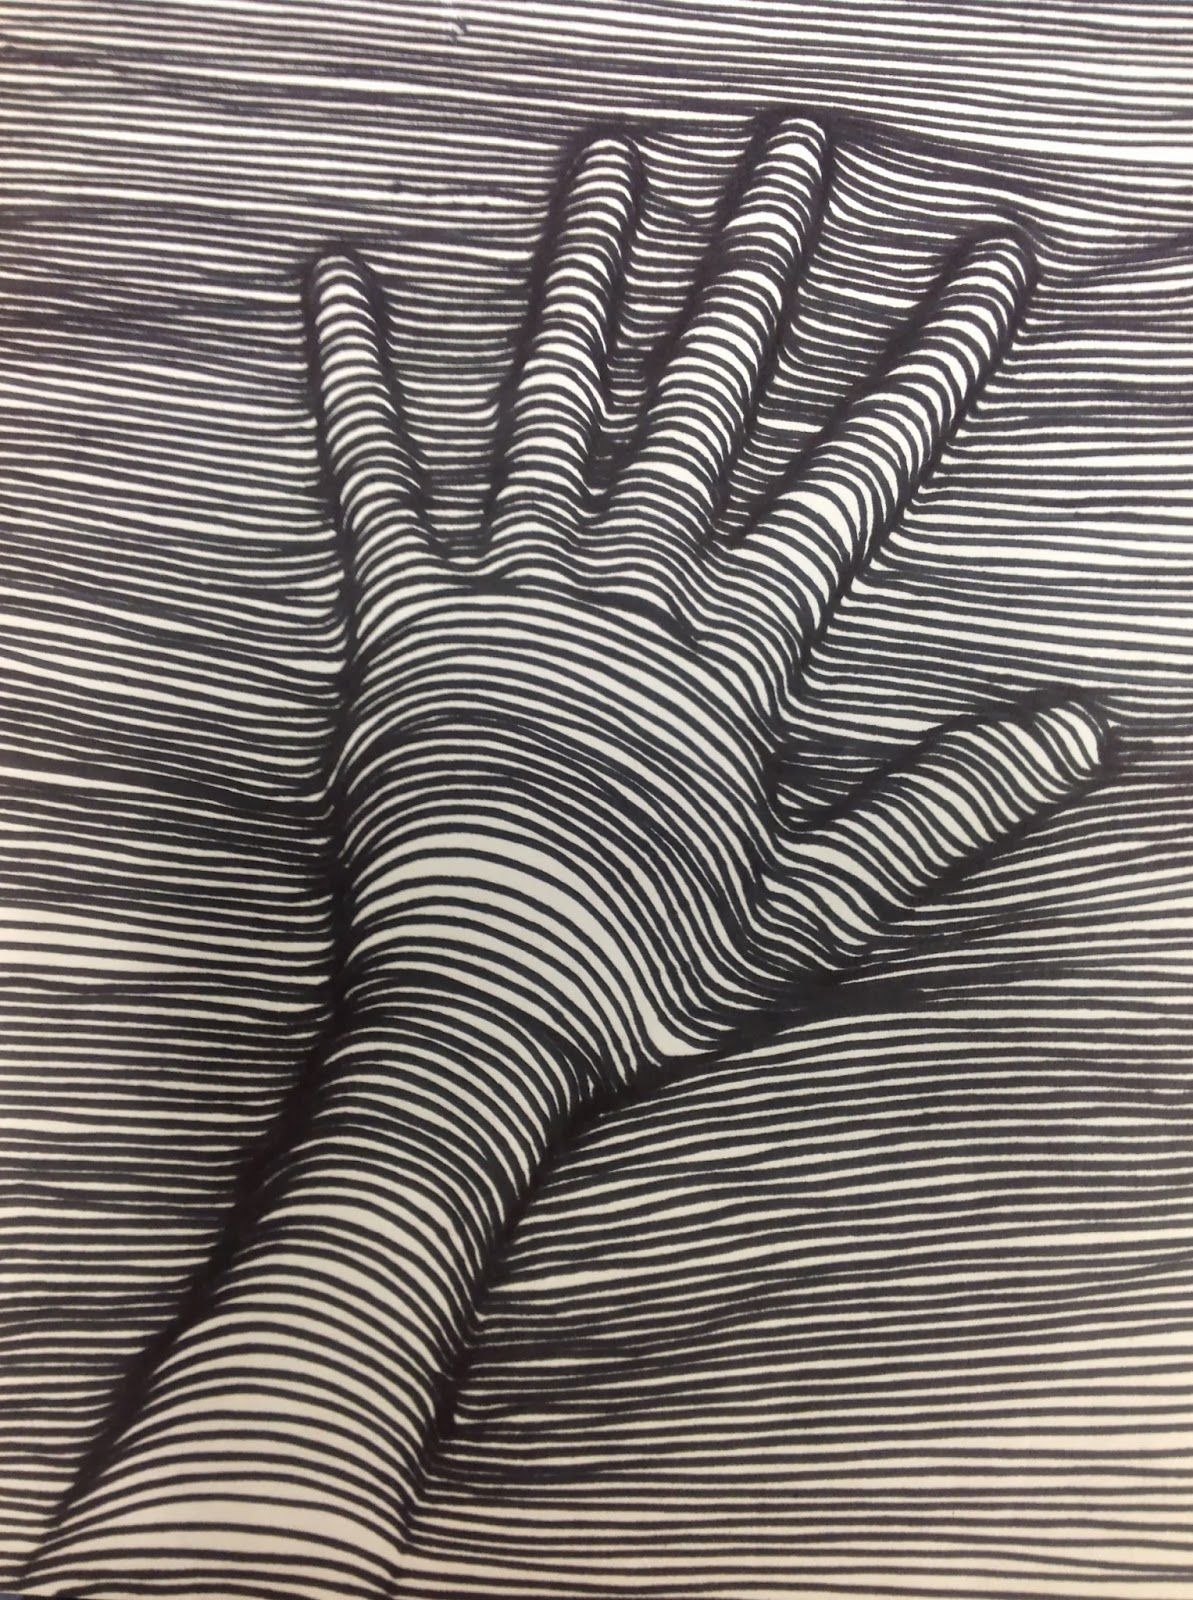
Have you ever tried to draw a landscape and struggled to capture the depth and texture of the terrain? One technique that can really elevate your drawing is cross contour lines. These lines help you add dimension and realism to your artwork by showing the way light and shadow interact with the surface of objects.
Understanding Cross Contour Lines
Imagine you’re looking at a mountain range. From certain angles, the peaks might look higher, while others seem lower. Cross contour lines are like the invisible lines that connect these points, helping you visualize and then draw the true form of the landscape. They’re particularly useful for capturing the subtle curves and folds of hills, valleys, and other natural features.
How to Draw Cross Contour Lines
To effectively use cross contour lines, start by lightly sketching the basic shapes and outlines of your subject. Then, focus on the areas where the light and shadow would create the most contrast. Here’s a step-by-step guide:
- Light sketch: Quickly block in the main forms and contours of the landscape.
- Identify key areas: Look for areas where the light and shadow play the most dramatic roles. This could be the top of a hill, a shadowed valley, or a rocky outcrop.
- Determine line direction: Imagine the lines that would connect the highest and lowest points in these areas. These are your cross contour lines.
- Draw lightly: Sketch these lines with a light touch, making sure they follow the natural curves and angles of the terrain.
- Refine and darken: Once you have the basic lines in place, refine them and darken the ones that are most critical to the overall shape and form.
This technique can take some practice, but it’s incredibly rewarding. It helps you see beyond the flat surface of your paper and gives your drawings a much more three-dimensional feel.
Practical Tips for Drawing Cross Contour Lines
When practicing cross contour lines, it’s helpful to work from photographs or real-life scenes. This allows you to observe the subtle changes in light and shadow and translate them onto your drawing. Try using a variety of pencils—HB for light lines and 2B or softer for darker, more defined lines. This will help you control the pressure and achieve the right level of detail.
A good exercise is to draw the same scene multiple times, each time focusing on different aspects of the cross contour lines. This will help you develop a better understanding of how these lines work and improve your ability to apply them in various situations.
Note: Don’t be afraid to experiment and make mistakes. Each attempt will teach you something new about how to approach the technique.
Insights and Final Thoughts
Mastering cross contour lines can transform your landscapes from simple sketches to works of art. By paying attention to the interplay of light and shadow, you can bring your drawings to life and make them feel more realistic. Keep practicing and experimenting, and soon you’ll be able to capture the beauty of nature in all its glory.
Next time you’re working on a landscape, try applying these techniques. You might be surprised at how much richer and more detailed your drawings become.
Related Terms:
- drawing cross contour lines worksheet
- contour lines
- cross contour drawings
- cross contour
- cross contour lines art
- drawing cross contour lines pdf


