
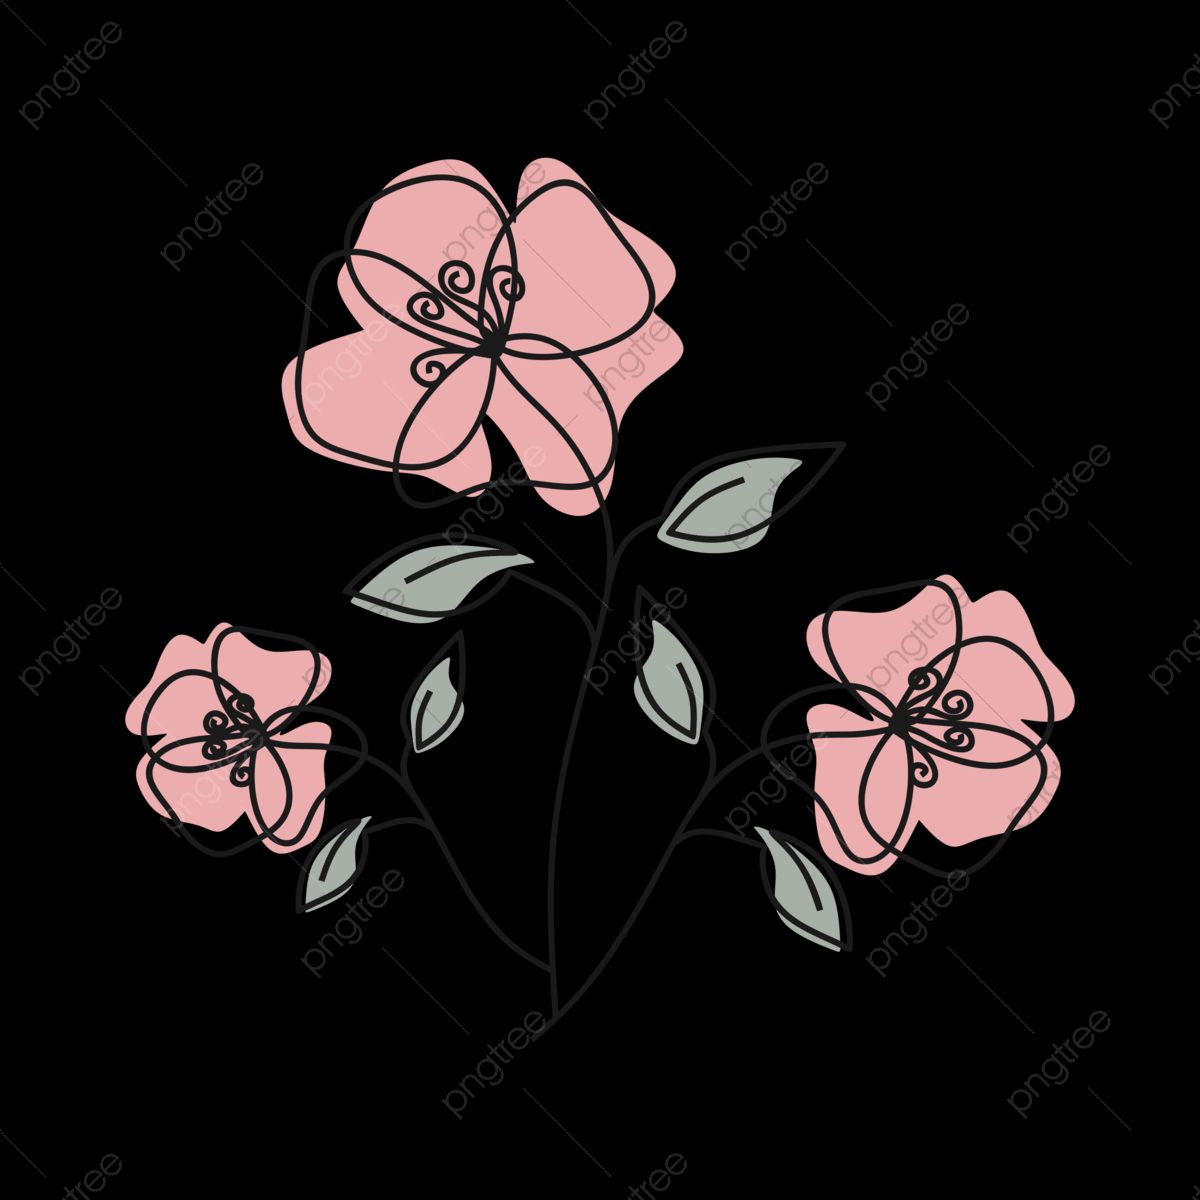
I’ve always been drawn to the simplicity of floral line drawing—there’s something calming about capturing the essence of a flower with just a few strokes. Last year, while experimenting with different art styles, I picked up a fine-tip pen and tried my hand at it. What started as a casual doodle turned into a deep dive into the technique. I quickly realized that floral line drawing isn’t just about sketching petals; it’s about understanding balance, negative space, and the natural flow of organic shapes. It’s a style that feels both timeless and modern, making it perfect for everything from journal decorations to digital designs.
The Basics of Floral Line Drawing
At its core, floral line drawing relies on clean, continuous lines to outline the structure of a flower. I started by focusing on simple blooms like daisies and tulips, using a 0.3mm fineliner for precision. One key lesson I learned early on: less is more. Overcomplicating the lines can make the drawing feel cluttered. Instead, I practiced observing the natural curves and angles of petals, translating them into fluid strokes. Tools like the Sakura Pigma Micron became my go-to for their consistency and archival quality, ensuring my sketches lasted without fading.
Choosing the Right Tools
Not all pens are created equal when it comes to floral line drawing. I’ve tested several, and here’s a quick comparison:
| Pen Brand | Tip Size | Ink Quality | Best For |
|---|---|---|---|
| Sakura Pigma Micron | 0.1–0.8 mm | Archival, waterproof | Detailed work |
| Staedtler Pigment Liner | 0.05–0.8 mm | Lightfast, smudge-proof | Long sessions |
| Uni Pin Fine Liner | 0.03–0.8 mm | Water-resistant | Versatile use |
Paper choice matters too. I prefer smooth, heavyweight sketchbooks like the Moleskine Art Collection to prevent ink bleeding. Experimenting with different tools helped me find what worked best for my style—something I highly recommend for anyone starting out.
From Sketch to Final Piece
Turning a rough sketch into a polished floral line drawing requires patience. I often start with light pencil guidelines, focusing on the flower’s center and radiating outward. Once the structure feels right, I ink over the lines, gradually building up details. Here’s where the magic happens: adding subtle variations in line weight can give the drawing depth without overloading it. For example, I’ll use thicker lines for outer petals and finer ones for inner details. This technique took practice, but it’s what makes the final piece feel alive.
Digital vs. Traditional
While I love the tactile feel of pen on paper, I’ve also explored digital floral line drawing using tools like Procreate and Adobe Illustrator. The precision of a stylus can’t match the organic feel of traditional methods, but it offers flexibility—especially for scaling or editing. I’ve found that combining both approaches works best: sketching traditionally and refining digitally. This hybrid method lets me preserve the hand-drawn charm while adding polish.
✨ Note: When going digital, invest in a good stylus like the Apple Pencil or XP-Pen Deco for better control and pressure sensitivity.
Floral line drawing has taught me to appreciate the beauty in simplicity. It’s a reminder that art doesn’t need to be complex to be impactful. Whether you’re sketching for relaxation or creating professional designs, the key is to observe, practice, and trust your lines. Start with a single petal, and before you know it, you’ll have a garden on your page.
Related Terms:
- floral line drawing mural
- simple floral line drawing
- floral line drawing whimsical
- floral line cases
- vine floral line drawing
- floral line drawing wedding invite


